
Beginner-Friendly: A Guide to Getting Started with Adult Metal Model Kits
If you're seeking a calming hobby that results in impressive display pieces for your shelves or desk, metal model kits are an excellent choice. By folding and interlocking thin photo-etched parts, you can create sharp, glossy miniatures—from butterflies and guitars to landmarks and even small vehicles. And yes, even beginners can achieve display-worthy results. The trick is choosing the right first project, setting up a simple tool kit, and approaching the build stress-free and relaxed.
This guide will walk you through an easy beginner's progression, how to choose the right starter kit, the bare minimum tools you actually need, realistic build times, and even tips for gifting and display. Along the way, we'll provide specific product examples and source-based suggestions so you can confidently pick the best beginner metal model kit for you.
3-Step Beginner Roadmap to Display-Worthy Builds
Focus on building small victories—each step will teach core skills and leave you with an outcome you can be proud of.
- Step 1: Practice folding and tabs on a simple design (~1–2 hours). Focus on clean 90-degree folds, gentle curves, and twisting/folding tabs without marring surfaces. Plan for one relaxed session.
- Step 2: Build a small, single sub-assembly kit (~2–4 hours). Opt for larger parts with easily accessible tabs. This step is about mastering part alignment and clean interlocking.
- Step 3: Tackle your preferred "display design" (~3–6 hours total, split over a weekend). Slightly larger parts and a few curves will keep it engaging without overwhelming you with too much detail. It'll be ready for your desk in no time.
Why this order? Guidance from trusted retailers emphasizes patience, starting simple, and dedicating a few hours per session to avoid errors. Hearns Hobbies' introductory guide to metal model kits by their hobby experts highlights starting with simple designs and preparing basic tools in a calm workspace. Their recommended "relaxed pace" and "easy-to-follow instructions" underpin this roadmap (Source: "The World of Metal Model Kits," Hearns Hobbies, 2024–2025).
How to Choose a Beginner Metal Model Kit (Feature-Driven)
For your first build, ignore popularity and prioritize features that reduce construction burden. Look for fewer sheets/parts, larger panels, minimal compound curves (gentle bends are okay), easily accessible tabs and slots, and clear, image-rich instructions. This "feature-driven" approach aligns with how experienced retailers advise beginners.
Below are four current product examples, with difficulty callouts and why they're suitable for beginners:
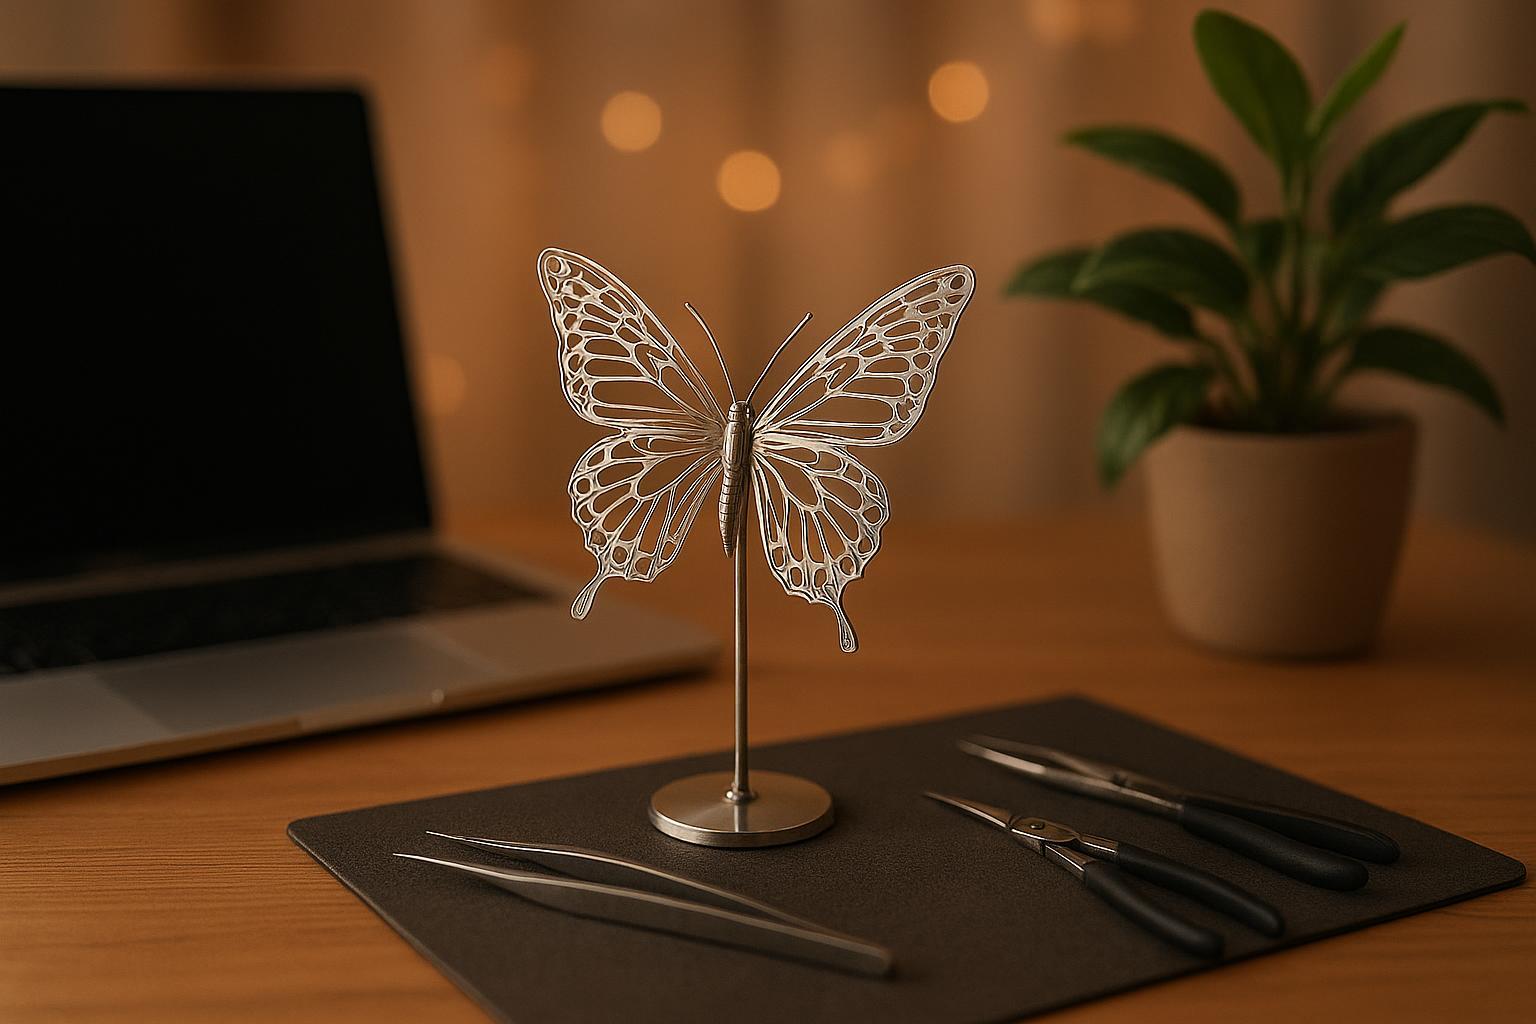
Metal Earth Monarch Butterfly (MMS123)
Labeled "Easy" and built from a single sheet. The difficulty and sheet count are verified on the Monarch Butterfly product page under Fascinations' Wildlife line. Its flat wings and accessible tabs make alignment simple, and the finished model looks great on its small stand.
Piececool Football Jersey Series (individual clubs)
Clearly marked as "2/7" on Piececool's difficulty scale, with some listings noting "assembles in minutes" and "includes small tools." Examples include the PSG 23/24 Away Jersey and Chelsea 23/24 Home Shirt. Their mostly flat shape is great for first-time tab work and provides predictable build times if gifting.
Simple Landmarks with Large Parts
Some of Piececool's desk-friendly landmarks, like the Burj Al Arab (approx. 12cm finished), are compact and perfect for shelf or office display. The key is to pick versions with fewer sheets and simpler geometric shapes. Check official listings for size and complexity before buying.
Entry-Level Wildlife/Objects from Brand Catalogs
Retailers carrying multiple lines often group "easy" models together. Browsing Metal Earth's wildlife/objects category with difficulty labels makes it easy to spot beginner-friendly kits at a glance.
For a broader search, specialty retailers feature up-to-date collections, making it easy to filter for beginner-friendly designs and price points. This helps you find the best beginner metal model kit without getting lost in advanced offerings.
Tools & Workspace: Must-Haves vs. Nice-to-Haves
Manufacturers minimally recommend tweezers or needle-nose pliers and careful planning by reading the diagrams—a point stated across various Metal Earth instructions. To ensure a smooth first build, adding a few practical items recommended by experienced retailers will make handling parts significantly easier.
Must-Haves (Start with these):
- Tweezers + small needle-nose or flat-nose pliers
- Flush cutters/side cutters for cleanly removing parts from the frame
- Bright task lighting and a flat, protected work surface (a soft cloth or cutting mat prevents scratches)
Nice-to-Haves (Optional but helpful):
- Magnifying glass (headband or desk type) for tiny tabs
- Small containers or a magnetic tray for organizing parts
- Cotton gloves or microfiber cloth for final buffing
5 Fundamental Operations Beginners Must Master
- Clean Part Removal: Use side cutters close to the frame, then smooth any tiny nubs with a fine file or burnishing tool to prevent raised edges that hinder alignment.
- Controlled 90-Degree Folds: Support the fold with flat-nose pliers and bend slowly. For curves, gently wrap the part around a pen shaft or dowel instead of freehand bending.
- Tab Handling (Twist vs. Fold): Twist tabs for quick, secure connections in hidden areas; fold them flat for neatness in visible sections. Test-fit parts to ensure tabs slide into slots without force.
- Sub-Assembly Interlocking: Always dry-fit (assemble without glue) first. Align reference edges and lightly secure corner tabs before locking in the rest. This prevents "creeping" misalignment.
- Surface Care: Handle visible panels by their edges and work on a soft cloth. A final wipe with a microfiber cloth will prevent fingerprints from dulling the sheen.
Troubleshooting & Common Mistakes (Quick Fixes)
Common issues are easy to fix if caught early. For a detailed look at avoidable errors, refer to BLDB's brief guide: "5 Mistakes to Avoid When Building Metal Horse Models," which covers planning, tools, and handling.
| Problem | Main Cause | Quick Fix | Prevention for Next Time |
|---|---|---|---|
| Tabs won't enter slots | Misalignment or burrs from cutting | Check for small nubs, lightly smooth edges, realign with gentle pressure | Dry-fit parts, remove nubs immediately after cutting |
| Gaps remain after closing seams | Incorrect tab locking sequence or uneven bending | Carefully unlock one tab, adjust bend angle, re-lock from corner inwards | Lightly secure corners first, then work evenly |
| Visible panels get scratched | Hard work surface or tool slippage | Work on soft cloth/mat, use non-slip pliers, slow down | Practice handling by edges, lay down cloth |
| Tabs break off | Excessive twisting or repeated bending (work hardening) | Reinforce joint with nearby folded tab if design allows; otherwise, re-secure adjacent tabs | Twist tabs once; avoid bending back and forth |
| Curves look warped | Freehand bending without a form | Re-curve around a cylinder with even pressure | Use pen/dowel as a bending form |
Gifting & Display Tips to Elevate Your Build
Choosing the right design is half the battle. Pick an icon the recipient loves—be it a music team, aircraft, or famous architecture—and ensure the kit's difficulty label is beginner-level. For presentation, a small acrylic case or clear stand protects the build and keeps dust away. For desk display, soft lighting works wonders: consider warm LED strips above a shelf or a spotlight to enhance the brushed metal texture. Avoid direct sunlight on printed/colored parts to preserve their vibrancy.
Stress-Free Weekend Build Plan
Most starter projects are best planned in multi-hour sessions, rather than rushed. Retailer guidance frames these builds as leisurely, relaxing tasks—so here’s a plan that matches that rhythm:
- Friday Evening (30–45 mins): Unpack, scan instructions, organize parts by step, set up lighting and tools.
- Saturday (1.5–2.5 hours): Work through the first half of the steps. Take 10-minute breaks every hour to avoid hand fatigue or forcing parts.
- Sunday (1.5–3 hours): Complete sub-assemblies, align final seams, and do a slow final check for fingerprints or loose tabs.
BLDB's Neutral Examples (How We Apply Selection Criteria)
Here's how you can use the checklist when shopping. First, filter for beginner-friendly models with large parts, clear diagrams, and minimal curves. Next, confirm a low difficulty label or a single-sheet design. Plan for a relaxed 2-4 hour build time and prepare tweezers, small pliers, side cutters, bright light, and a soft cloth. This is exactly how we select beginner-friendly kits for the BLDB catalog: product pages typically include finished size, sheet count, and photo-rich instructions, perfectly aligning with the selection criteria mentioned above. You can expect a compact finished product that neatly fits on a shelf or desk, making it the perfect "I built this myself" first display piece.
Additional Information & Trusted Sources
- Hobby Retailer Insight on Beginner Selection, Tools, and Pacing: See detailed guidance from Hearns Hobbies team's "The World of Metal Model Kits" introductory guide.
- Manufacturer Difficulty & Product Examples: Browse Fascinations/Metal Earth's Wildlife category to find officially "Easy" labeled products, or check the Monarch Butterfly (MMS123) product page for sheet count and difficulty.
- Official Instructions (Diagram Style & Tool Recommendations): Refer to any Metal Earth instruction page (e.g., Trumpet or P-51D Mustang "Sweet Arlene") to observe standard tips and recommended tools.
- Piececool Difficulty & Quick Build Examples: Read their difficulty page (☆–★★) and quick-build jersey examples (e.g., PSG 23/24 Away) to understand the criteria for "Very Easy" products.
- Specialty Store Curation of Beginner Designs: Specialty retailers feature curated Metal Earth collections, helping you find entry-level kits without getting lost in advanced designs.
- Additional Japanese Reader Information: BLDB's Japanese beginner guide covers kits with LEDs/speakers and basic beginner setups.
Your Next Step
Go explore! Browse BLDB's product collection and filter for simple, single-sheet, or beginner-labeled models to find the perfect beginner metal model kit for your first weekend project.
- World of Metal Model Kits — Beginner Selection, Tools, and Pacing (Hearns Hobbies)
- Metal Earth Monarch Butterfly (MMS123) — Fascinations Product Page with Difficulty/Sheet Details
- Metal Earth Instruction Example — Trumpet Model Page
- Piececool Difficulty ★ and ★★ Explanation
- Piececool PSG 23/24 Away Jersey — Quick Build Example
- Specialty Retailer Metal Earth Collections — Beginner Designs in Each Category
- BLDB — 5 Mistakes to Avoid When Building Metal Horse Models
- BLDB — Beginner Guide to LED/Speaker Metal 3D Kits
- BLDB — Product Collection